
How to Cover Your Scars with Makeup Step by way of step Guide
There are times when you may want to leave a reminder of your past experiences, and then there are the other days that covering is appealing for special events or confidence in daily life . This is where makeup comes in as your biggest weapon when it comse to looking stunning. And I put together an in-depth, step-by-step guide on how to best cover scars with makeup.
Step 1: Prepare Your Skin
Prior to even starting with makeup application, it is imperative for you to ensure that your skin has been prepared properly.
- Wash Your Face: Use a mild cleanser to get rid of any dirt and oils.
- Moisturise: This step means applying the moisturizer that suits your skin type. This part is crucial, as well-hydrated skin not only helps makeup stay on longer but also smoother.
- Form an Even Base With Primer: Apply a primer to perfectly fill in holes and blank canvas skin before makeup. Focus on areas with scars.
Step 2: Color Correction
If the scar is differently colored — red, purple or brown are common hues you might see — color correction can help to neutralize it.
- When applying makeup to cover redness, use a small amount of green color corrector. Dab it gently onto the scar.
- Peach/Orange Corrector for Dark Scars Peach or orange correctors are good at brightening up the darker scarred area. Use It Lightly But Blend Well
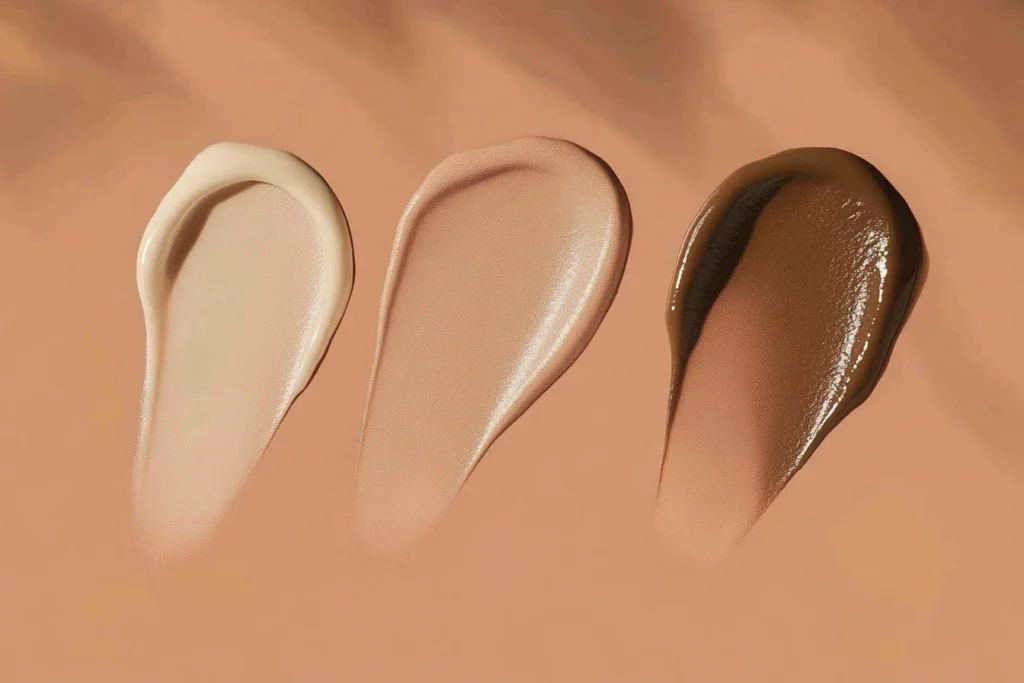
Step 3: Foundation Application
For the most effective way to hide scars, select a foundation with full-coverage properties.
- Choose the Perfect Hue: Make sure that you choose a foundation hue that matches your skin tone.
- Apply with a dense brush / beauty sponge Press on the foundation, being careful to blend it well into your skin surrounding.
Step 4: Conceal and Set
Now it’s time to focus on concealing the imperfections further.
- Concealer Formula: Choose a full-coverage concealer that matches your skin tone. A creamy formula works best for coverage.
- Application Technique: Using a clean brush or your fingertip, apply the concealer directly onto the scar and gently tap to blend it into the foundation. Build the coverage gradually for a seamless look.
- Set with Powder: To ensure your makeup stays in place, lightly dust setting powder over the concealed area. Use a fluffy brush to avoid disturbing the makeup beneath.
Step 5: Final Touches
Conclude your outfit with these subtleties.
- Blush and Bronzer: Use both blush and bronzer in the right areas to provide a coherent image of your face I. Then your eyes are the masterpiece and it will make you look much better.
- A setting spray will both lock everything in more securely. This ensures that your makeup stays for long and looks fresh all day long.
Step 6: Adequately Take Off Your Makeup
Bottom of the line take your make up off correctly.
- Soft Makeup Remover: A smooth, gentle makeup remover to help remove the products without irritating your skin
- Cleanse Right Away: Use your regular cleanser to remove any left-over traces of the facial and prevent skin from breaking out.
Conclusion
Hiding scars with makeup can make you feel confident like never before. Use the following steps and these products to get a natural, untamed-looking face:result Remember to practice making your own techniques and have fun with makeup, The adornment of all women!